Type your question here!

Showing posts with label drought. Show all posts

Sunday, November 26, 2017

Pine Tree Recovery from the Heat


Q. I have fifteen-year-old, 20 to 30 foot pines on a half-acre. They suffered during the heat this past summer. After your advice, I am doubling the amount of water and hosing off the needles once a week. How long is the recovery time using vitamins? 
 
Too much water? Probably not. But they don't need it as often as a lawn does. When you look at the amount of water that pine trees need, the total amount of water is not far from what an efficient lawn would need. The difference is in frequency of application. Trees, this includes pine trees, should be watered much less often than a shallow rooted lawn.
A. I am not a big fan of applying vitamins like Super Thrive. Some people swear by them, It can be cheap insurance though if you're not sure. Your call on that one.
Who can argue with success? The research doesn't support it but the use of products like these (and other "me too" products) are not supported by research. However, some landscape professionals and homeowners disagree. In the long run, it's cheap insurance to use it.
            Washing the needles of pines is not necessary. It is true of Italian cypress because they tend to get spider mites. Pines do not.
            They might need more water than 15 gallons. Play that by ear by watching the new growth next spring and early summer. You should get at least 12 inches of new growth every year and not experience severe needle drop during the hot months. Those are indicators the tree is not getting enough water.
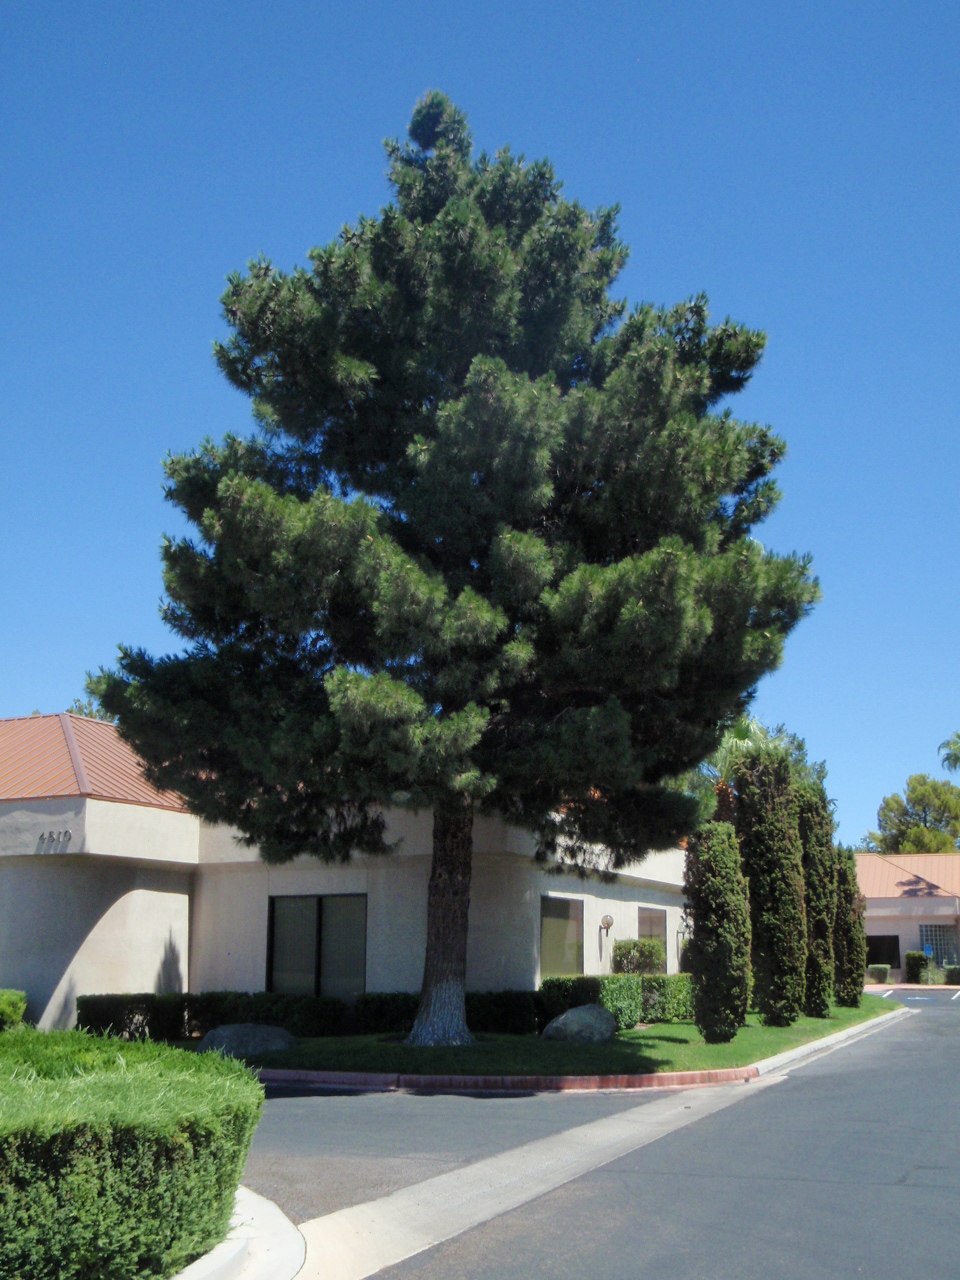
When you see this in a pine tree growing in the desert, it usually means a lack of water. The amount of water pine trees need is grossly underestimated by most homeowners and landscape professionals. They need a lot of water all at once but they don't need it that often.
            Once you find the right amount of water (minutes and gallons), keep it consistent through the year. The amount of water they are given should not change much throughout the year. It's like filling a gas tank. Instead, change how often they receive the water. Summer months water more often. Winter months, water less often.
One of the best ways to irrigate large trees is to "basin irrigate". This is a modification of an irrigation technique called "flooding". Rather than drip irrigation, a landscape bubbler (not a drip bubbler) is used to fill a flat basin. The basin around the tree, doughnut if you will or moat, must be flat! This basin is increased in size every few years to accommodate a larger tree. The bubbler emits water at one or 2 gallons per minute. The basin is full in 10 to 15 minutes.
            As plants get bigger, they require more applied water, not watering more often. Watering frequently with small amounts of water produces shallow roots and trees that blow over in strong winds.
            You should see an improvement in the first half of next year. Nothing this year.

Saturday, August 20, 2016

Bermudagrass Lawn Change of Color May Be Drought

Q. We have lived in the same house in Las Vegas for the last 42 years and every June my lawn has the same problem. The lawn is a mix of common and hybrid Bermudagrass. First the grass turns grayish (in patches) and then it turns brown. It slowly comes back by September. I water according to local recommendations, use Scott's Turf builder 3 to 4 times a year and use Ortho Bug-B-Gone insect granules twice a year.
 
A. If this were tall fescue I might be tempted to say this is a disease problem. However, since it is a mixture of Bermudagrasses I think this is an irrigation problem. This will be particularly true if these problem areas are in the same locations every year.
Turfgrass or lawns will turn a smoky or grayish green when they are not getting enough water. This is because the leaf blade either folds in half or roles depending on the grass. This creates a different color; smoky or grayish green
            Bermudagrass in our climate doesn’t develop many insect or disease problems.
            The success of lawns in our desert climate is directly tied to the quality of an irrigation system. In technical terms we say the irrigation system should provide head to head coverage; water from a sprinkler head should be thrown far enough to reach the head to its right and it’s left. If we don’t provide this kind of uniformity in the design and installation of an irrigation system it can result in brown patches that don’t receive enough water.
A close-up of the grayish green color where the lawn is not getting enough water
            The water pressure in the sprinkler system should fall within a range recommended by the sprinkler manufacturer. If the water pressure is too high or too low it will affect the distribution of water and create browning of the lawn in the same areas year after year. Otherwise, there are sprinklers now that will lower the water pressure before the water is applied to the lawn.
Another indicator of drought or lack of water in a lawn are footprints. If you walk across grass that needs water, look behind you. If your footprints remain in the grass does not spring back quickly, the grass needs water.
            You can correct this problem in the short run by increasing the number of minutes that you apply water. This delivers more water to the dry areas. Unfortunately, it also delivers more water to the wet areas resulting in overwatering of the green areas.
            It is also a good idea to punch holes in the lawn with an aerating machine in the spring, particularly in the brown areas. This helps water to move into the soil and not run off into low spots if there are any.
            Bermudagrass is notorious for building up “thatch”. Thatch is a buildup of old grass stems and debris under the surface of the lawn but on top of the soil. Years ago this thatch was burned off of the lawn with fire. We can’t do that anymore. We must do it mechanically now.
A core aerifier for lawns pulls plugs or cores out of the lawn that are about 4 inches deep. This type of verification provides better drainage and water penetration for lawns suffering from drought
            It is important to dethatch Bermudagrass each year. This is usually done in the fall when overseeding it with a cool season grass like ryegrass to maintain a green winter lawn. If the lawn is not overseeded in the fall then thatch can be a huge problem in Bermudagrass.
D thatching machines, sometimes called vertical mowers, pull debris from a lawn which allows water to better penetrate the soil and reduces runoff.
            Making changes to the irrigation system will correct some of this problem and reduce the amount of water needed to keep the lawn green. Increasing the number of minutes you apply water during the heat of the summer should solve this problem in the short run.
            But I would combine this with lawn aerification every three or four years and dethatching every year to improve the amount of water entering the soil in the dry areas.

Tuesday, December 1, 2015

Correcting Oleanders with Leaves Browning Along the Edges

Q. We have one oleander approximately 2 years old and 4 new ones we purchased several weeks ago.  The older one (1st photo) and one of the new ones (2nd photo) have some leaves that are browning along the edges while the centers are still green; a few have tips that are browning too.  From what I've read, could the plants have leaf scorch or, "salt or boron toxicity"?


Two pictures sent in regarding oleander leaf scorch

A. You are right, this browning along the margin of oleander leaves, or leaf scorch as it is sometimes called, could result from a number of things.

One possibility is a bacterial disease that has been called Oleander Leaf Scorch. It is a bacterial disease which is rarer in plants than fungal diseases. This disease is carried from plant to plant by what we call "vectors". These vectors can be insects that feed on the "juices" of this plant or they can be transmitted by humans on pruning shears. This is why I am constantly reminding people to clean and disinfect their pruning equipment before they begin pruning and between plants if the plant they finished pruning appears to be "sick".

More information about oleander leaf scorch from the University of California

Leaf scorch can also because to buy a lack of water and excessive salts in the soil which can be made worse if plants do not get enough water. One particular salt that you have identified as a problem in our soils is boron. The other particularly troublesome salts contain sodium and chlorides. Salts that contain for plants, such as nitrogen, phosphorus, potassium and others can also cause leaf scorch if they are in excess. Fertilizer salts containing high levels of nitrogen can be particularly troublesome and cause plant damage if applied in excess, too close to the plant or when soils are dry.


What to do? Apply compost around the base of the plant and either wash it into the soil or lightly dig it into the upper surface of the soil.

Add more water. If you feel as if the plant is not receiving enough water, add more drip emitters. This is preferable to just increasing the number of minutes since everything watered by that valve will be affected. If you're fertilizing the plants, make sure the fertilizer salts that you apply are kept at least 12 inches from the trunk and applied near the emitters or bubbler. Make sure the soil does not become dry between irrigations because dry soils increase the concentration of salts already in the soil.

Lastly, cut the oleanders to the ground and let them re-grow from the base. If you apply more water, improve the soil and are careful with fertilizers and the plants still have leaf scorch during the next growing season, then dispose of them and to get new ones. Oleander leaf scorch will not be in the soil. It can only be transmitted from unhealthy plants to healthy plants either by insects or humans who are not careful about pruning.

Sunday, June 15, 2014

Turfgrass Dead Spots. Irrigation Problem?

Brown spots or dead areas in lawns can be common during summer months. It might be a disease, but then again, it could be something else.
There is a sprinkler head in the center of the green spots.


The three primary reasons that lawns develop brown spots or dead areas are due to irrigation problems, the development of diseases and insect damage.

Irrigation Problems. How many times have I heard, “I know the sprinkler system was installed right. I did it myself.” Just because you did it yourself, does NOT mean it was done correctly. If it was done correctly did you design it for “head to head” coverage? Did you size your pipe taking into account all of your nozzles gpm and friction losses? Did you make sure the pressure of your 
First sign of an irrigation problem is that smokey-grey color in your lawn when it gets hot.
system falls within the manufacturers recommended pressure range for your nozzles? I can go on. If you understood these terms and took them into account then maybe you did it right.

Pressure too high. Sprinkler in the center of that little green spot of grass
Any weaknesses in your sprinkler system will show up when temperatures hit 110F and 15% humidity. Lawn water use will exceed 4/10 of an inch of water every day. The first thing you will notice when temperatures start to get hot are smoky-grey patches start to show up in your lawn. Then the brown spots or patches start to appear and they are often not clearly defined. Oftentimes they are smack dab between the irrigation heads when heads are not spaced appropriately, nozzles are mismatched, heads are not perpendicular to the lawn or you use 2 inch popups when you should use 4 inch. Sometimes these brown patches can be right next to the head if the pressure of your system is too high and the sprinklers “fog”. In order to clear up the problem or you use the wrong type of nozzles.

Little bit of drought and disease mixed in this lawn.


·       Know the operating pressure of your sprinkler system.
·       If mowing at two inches or above use four inch popup sprinklers.
·       Space sprinkler heads and select the right nozzles to provide head to head coverage (water from one nozzle should reach the neighboring nozzle and vice versa).
·       Size irrigation pipe to provide water flow through the pipe not to exceed 7 feet per second when operating.
·       Use a system pressure regulator (if operating pressure is to high) or a booster pump (if operating pressure is too low) so that operating pressure falls within pressure range recommended by sprinkler nozzle manufacturers.